IALA Region A vs Region B
Coming in from seaward in Region A (Europe, Africa, most of Asia): red to port, green to starboard. Region B (Americas, Japan, Korea, the Philippines) swaps those two colours. Cardinal, isolated-danger, safe-water, and special marks are identical in both regions. Lithuania and the Baltic sit in Region A.
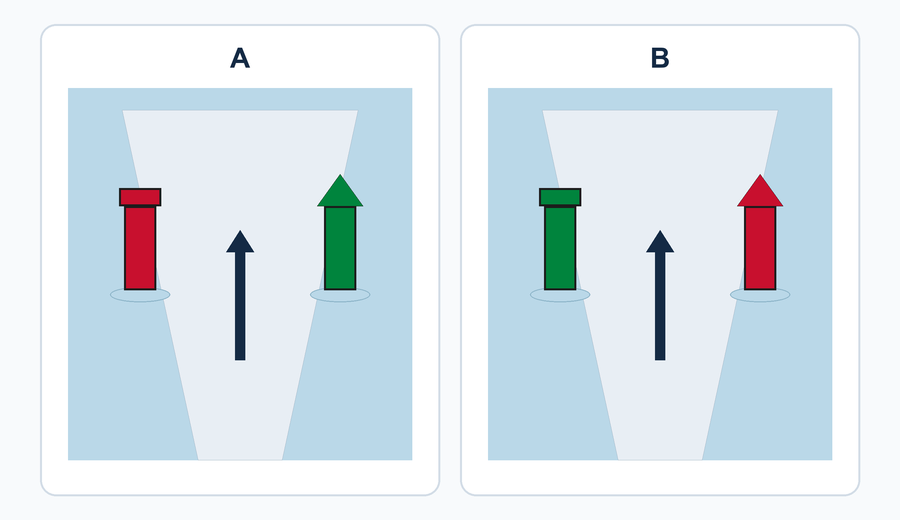
Lateral marks (the channel edges)
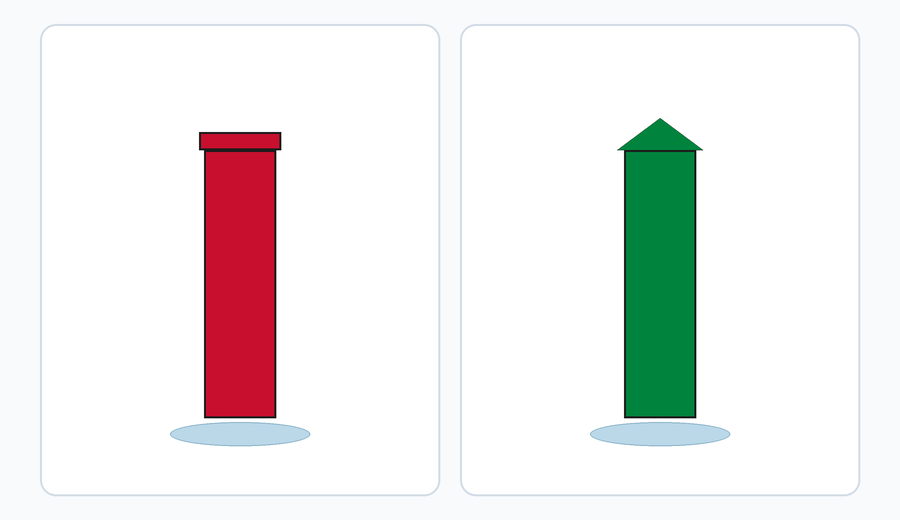
In Region A, inbound from the sea: a red can marks port, a green cone marks starboard. Light colour matches the body; the rhythm can be anything except the reserved cardinal/safe-water rhythms. On inland waters the same red/green logic is often drawn with posts and topmarks along the fairway.
Cardinal marks (the danger is the other side)
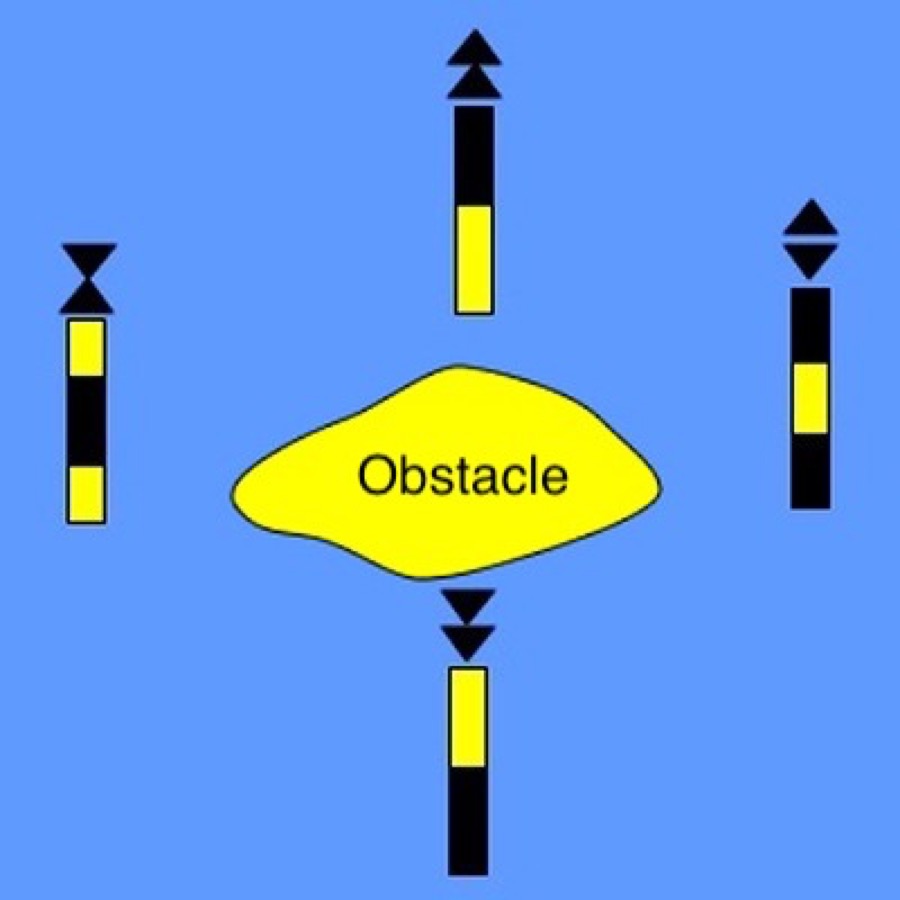
Black and yellow pillars with two black cones. Pass on the named side — north of a north mark, east of an east mark, and so on — never over the wreck or shoal they fence.
| Cardinal | Topmark | White light |
|---|---|---|
| North | Both points up | Continuous quick or very-quick flashes |
| East | Bases together | 3 flashes (clock 3) |
| South | Both points down | 6 flashes + 1 long (clock 6) |
| West | Points together | 9 flashes (clock 9) |
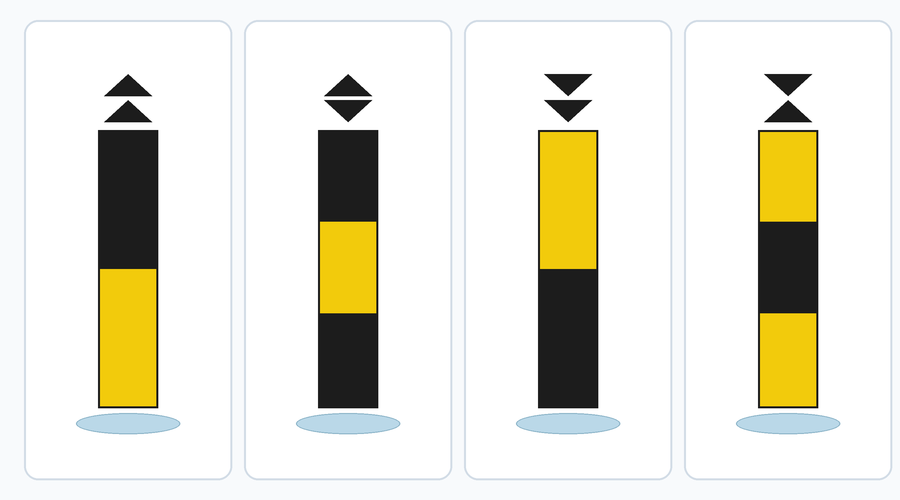
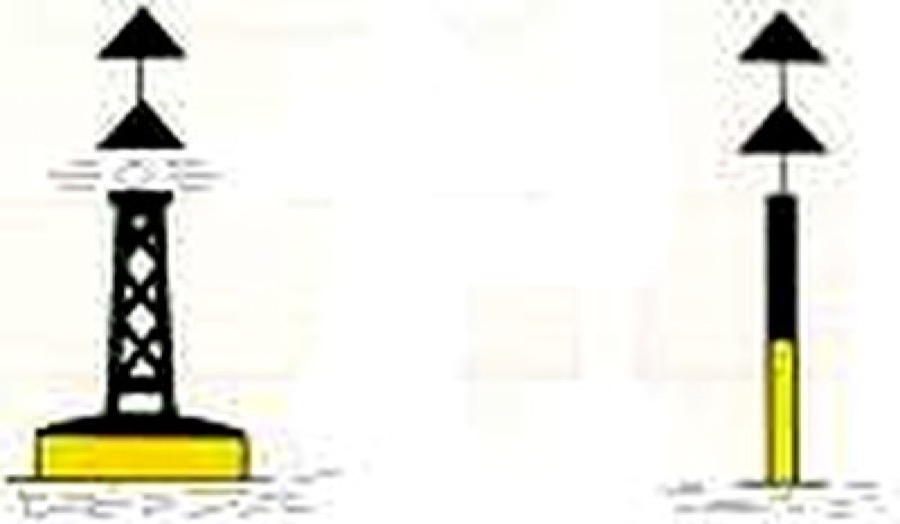
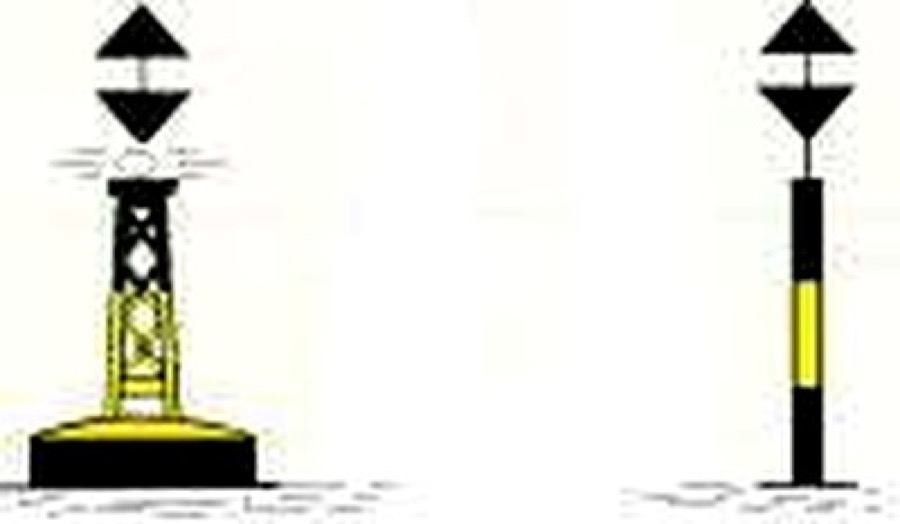
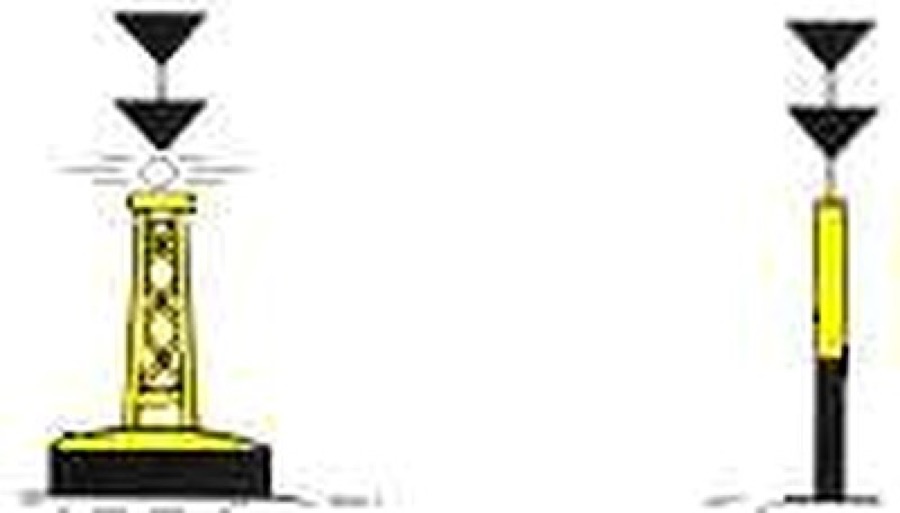
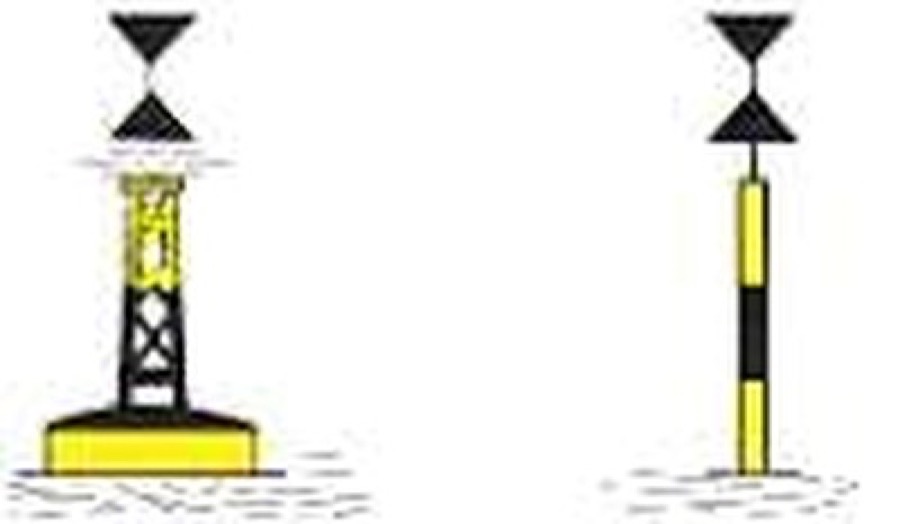
A cluster of cardinals around one rock is a standard exam diagram: read each topmark, then draw the safe water as a ring outside the danger.
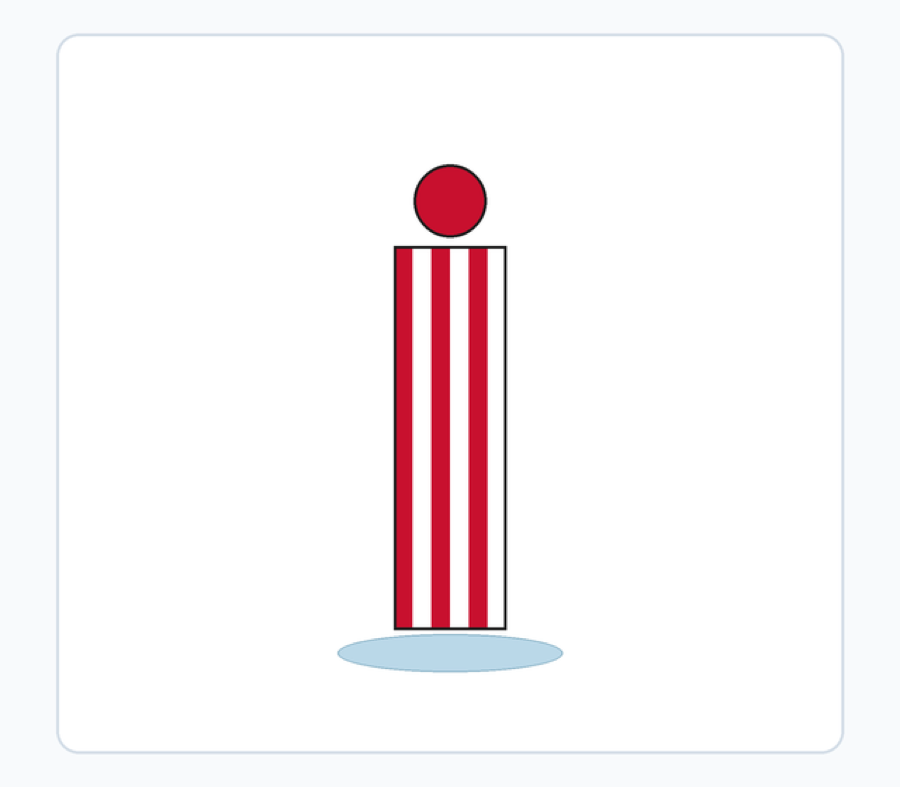
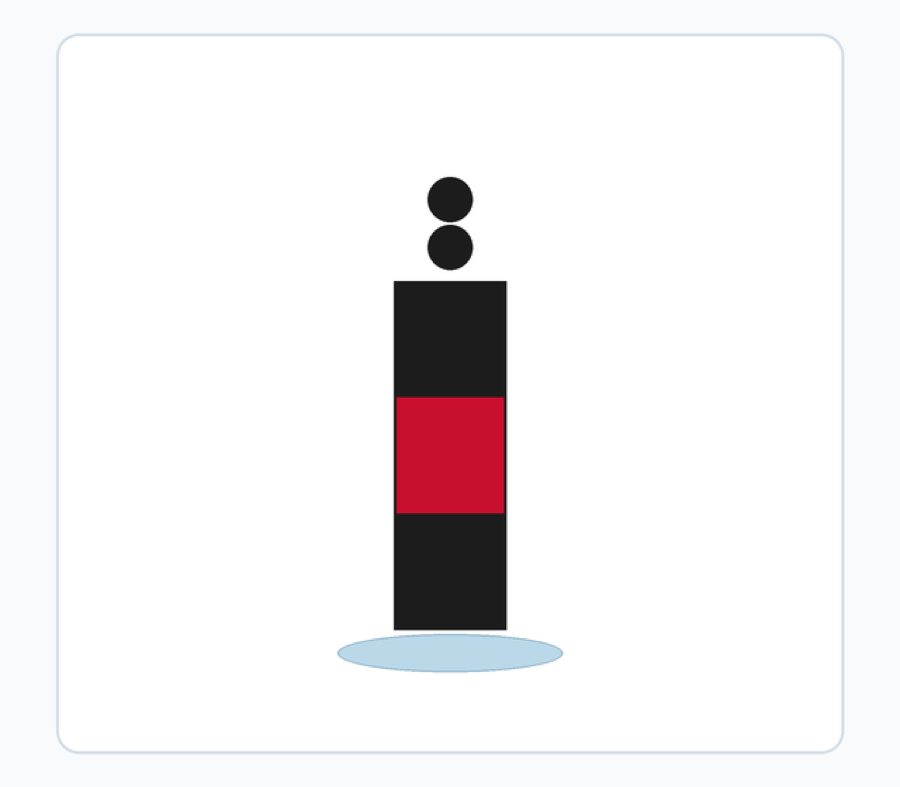
Safe water, isolated danger, special, wreck
Safe water: red and white vertical stripes, red ball topmark, white Iso/Oc/LFl or Morse A. Navigable water all around — landfall or mid-channel. Pass either side.
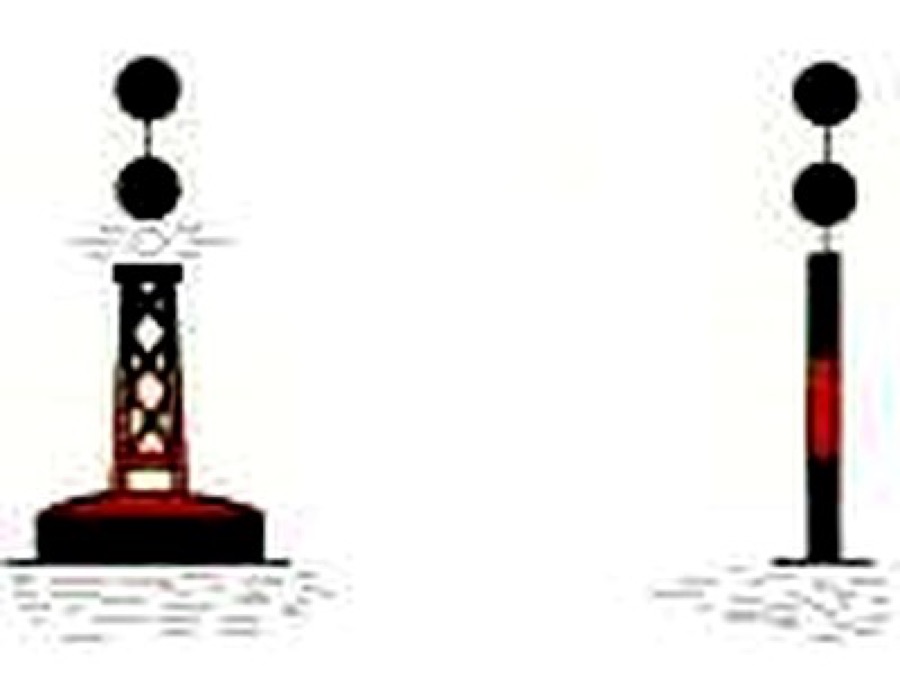
Isolated danger: black with one or more red bands, two black spheres, white light in groups of two. The rock or wreck has water around it. Do not sit on the mark.
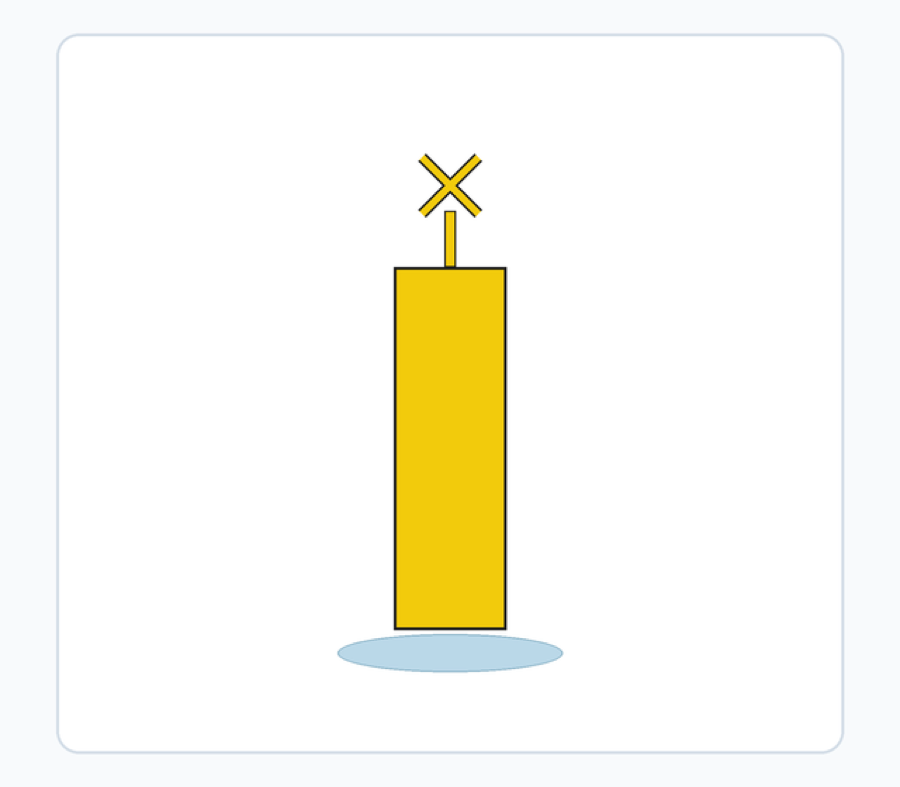
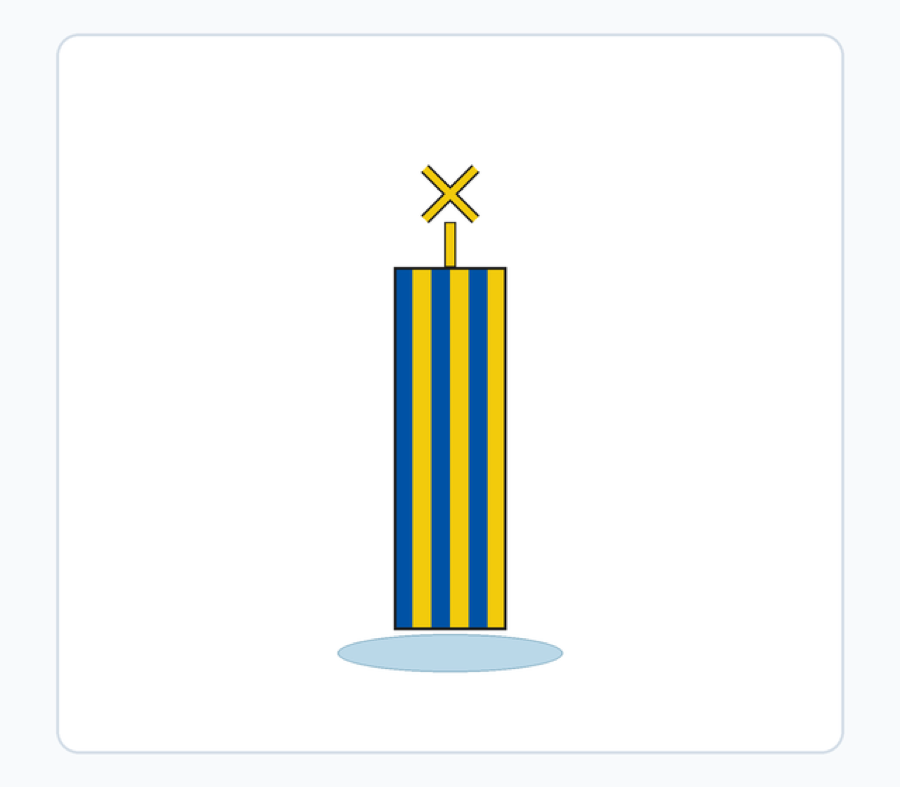
Special mark: yellow body, yellow X topmark, yellow light. It is not a channel edge. The chart says whether it is a data buoy, traffic separator, recreation zone, cable, or military area. Pass as the chart directs.
Wreck marking on some charts uses a separate wreck buoy; treat it as a danger and stay in the labelled safe water.
Exam habits
- Ask: am I in Region A? Inbound from seaward? Then red is port.
- Cardinal: cones are a compass needle; lights follow the clock (3, 6, 9, continuous north).
- Vertical red/white stripes = safe water. Horizontal black/red = isolated danger.
- Yellow X is never “leave to port” by itself — open the legend.

Study with SailPrep
Flashcards, quizzes, and reminders live in the app. Download free and keep revising.
Related guides
This article is for study and revision. It is not legal advice. Always check the official COLREGs, IALA, CEVNI, and local authority texts. SailPrep is an independent study aid and is not affiliated with LBS, the RYA, or any certification body.